This is for TrueNAS Scale specifically but leaving this here as well just in case and checking out the cross-post function. cross-posted from: https://lemmy.world/post/1202672
Since getting done with backing up all our DVDs and Blu-rays I’ve been searching for another project when I came across RomM. It’s a great archiving tool for your retro roms. I also wanted a way to run emulators from the browser, if possible. Thankfully TrueCharts had me covered with having RomM and EmulatorJS readily available as apps.
I didn’t see any install instructions for TrueNAS so maybe someone will find this useful.
Prerequisites -
- TrueCharts catalog
- Shared folder where you can upload your roms after backup
- Twitch Account with 2FA
File structure is pretty important so make sure you have a share folder setup for your roms and break them down by device
/mnt/Main/Monitor/Roms/gb
/mnt/Main/Monitor/Roms/gba
/mnt/Main/Monitor/Roms/gbc
etc…
Installing RomM
Before installing we need to do some work to get a client ID and Client secret from IGDB.
It’s all pretty straight forward but the naming OAuth and Category may throw some people off.
Name: IGDB-yourusername
OAuth redirect URL: https://127.0.0.1
Category: Application Integration
Once that is setup you can go back to your TrueNAS and actually start the install process.
If you do currently have the share setup for access go ahead and turn off the share for now to bypass the integrity check.
- Grab your Client ID and Client secret from the steps above.
- Input your Client ID and client Secret in the appropriate fields
- Under “Storage and Persistence” click “Add”
Type of Storage: Host Path
Automatic Permissions: Checked
Host Path: /path/to/roms
Mount Path: /romm/library/roms
- Click “Save” and wait to launch
- Once launched click “Open” from your applications page
- Once in the RomM dashboard select “Library” and then “Scan”
- Check “Complete Scan” and then click “Scan”
- You should see the devices and rom names appear as it begins to index your roms.
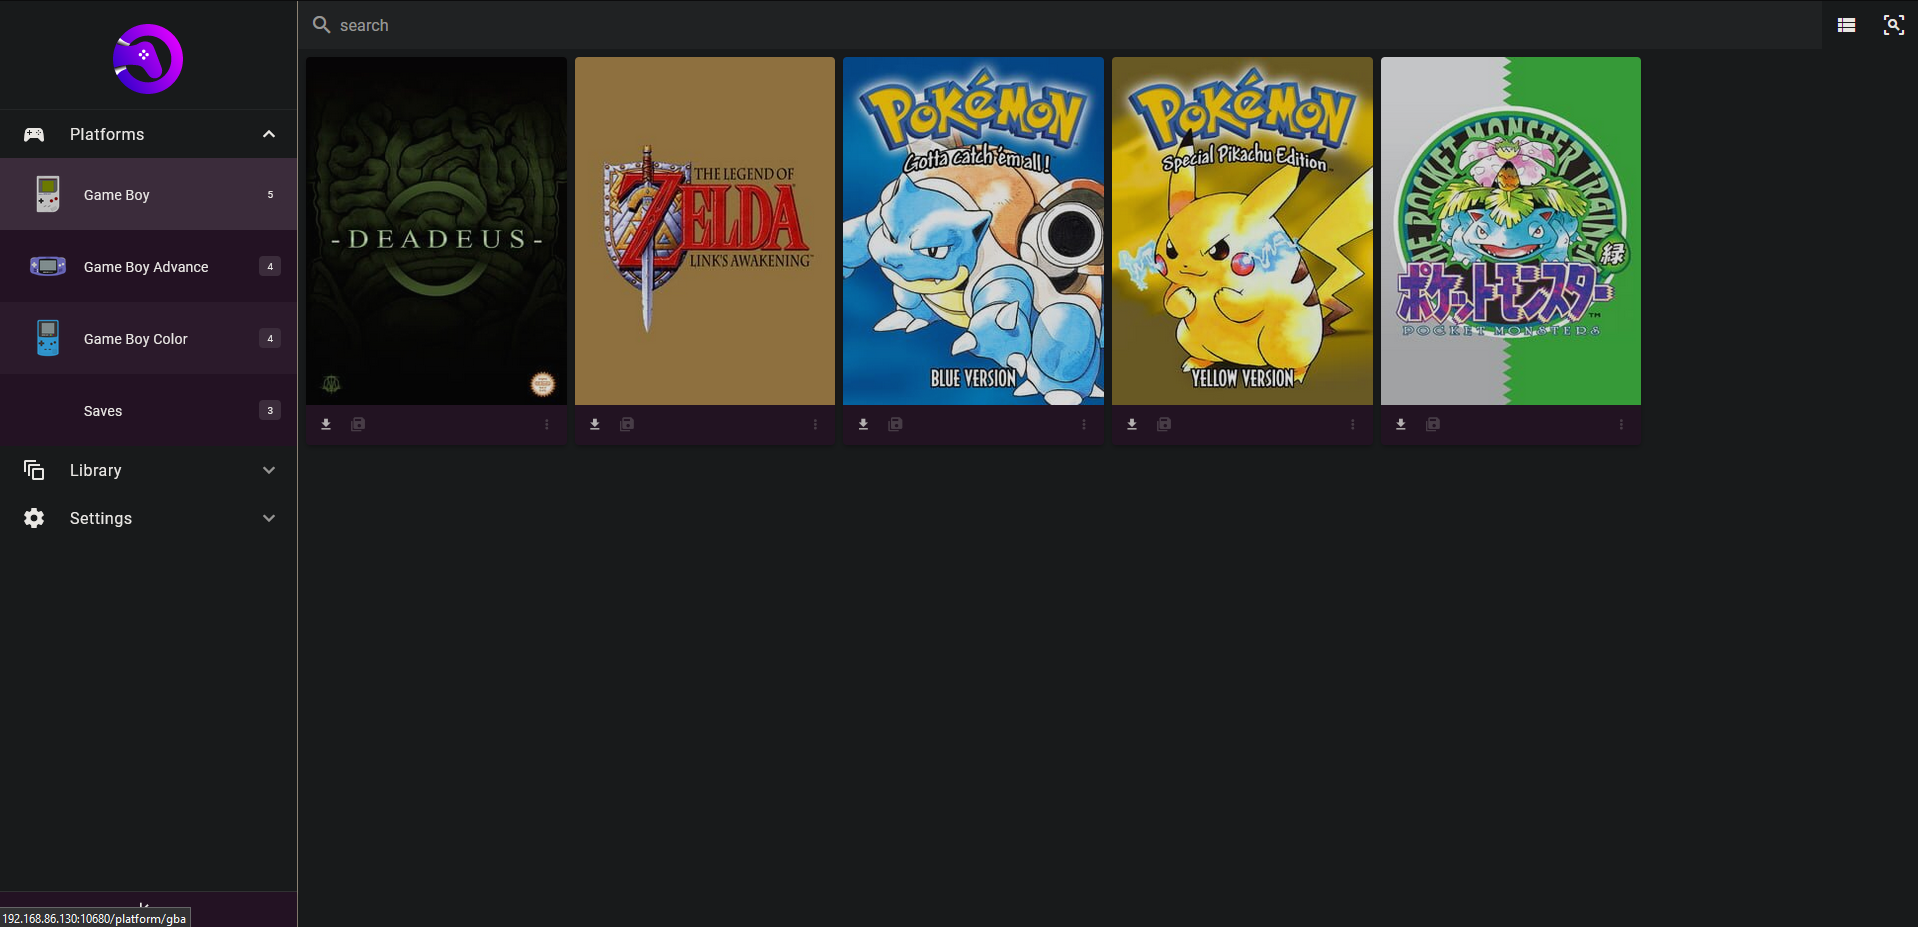
- Once that’s done you can click on “Platforms” and select which device you want and should see all your roms in a beautiful web front end!
You may have some titles that did not come through correctly and will be a white cover.
- Select the game by clicking on the cover
- Once inside the meta data page select the three dots below the cover
- Select “Search IGDB”
- Fix the match of the game.
This should fix the cover and metadata of any games that weren’t found on IGDB correctly.
From here RomM is good to go. You can now turn your share back on from TrueNAS and add games as you backup and scan from RomM when needed!
Disclaimer You can stop here. There’s really no need to install EmulatorJS if you want to use something like retroarch. Simply point retroarch to your shared folder with your roms and scan that directory. It will go into the device subfolders and find all your roms. For me I figured if I was setting all this up I might as well go full bore with EmulatorJS as well.
Installing EmulatorJS
As before if your roms folder is currently setup as a share go ahead and turn it off via your TrueNAS Shares menu.
- Select “Available Applications” and search “Emulator”
- Select “Install” on “EmulatorJS”
- Scroll down to “Storage and Persistence” and select “Add”
This is the slightly annoying part as I could not find a reliable way to mount all the folders without doing it device by device. This is how I did it but there may be a better solution I’m not aware of.
Type of Storage: Host Path
Auto Permissions: Checked
Host Path: /path/to/roms/gb
Mount Path: /data/gb/roms
Again, you will have to add a storage point for each of your device folders. Rinse and repeat as needed.
- Once done click “Save” and wait for it to launch. This does have a DB and a front end so you may see “Deploying 1/2” this is normal
- Click “Open” on EmulatorJS
- This will take you to the Manager page of emuJS This will download some assets and other things. Let it finish and click the X in the top right
- At the top you should see your devices. gb, gba, gbc…ect and you should see a Roms and Scanned count. Click scan on the first one and let it scan. Once done you should see the Roms and Scanned count update and the Scanned count should match the Roms count.
- You should see the device be added to the left hand menu.
- Click on the device
- You should see a list of ID’d roms and some steps on the left.
- Click “Download all Available Art”
- Click “Add All Roms to Conig”
- Repeat steps 7 - 12 as needed
- Open a new tab and go to tru.nas.ip.add:10124
- You’ll get a popup saying there’s no games added and to add games. Select “OK”
- Click on the folder in the top left
- On the top right click “Pull Default Config”
- Close that tab and refresh tru.nas.ip.add:10124
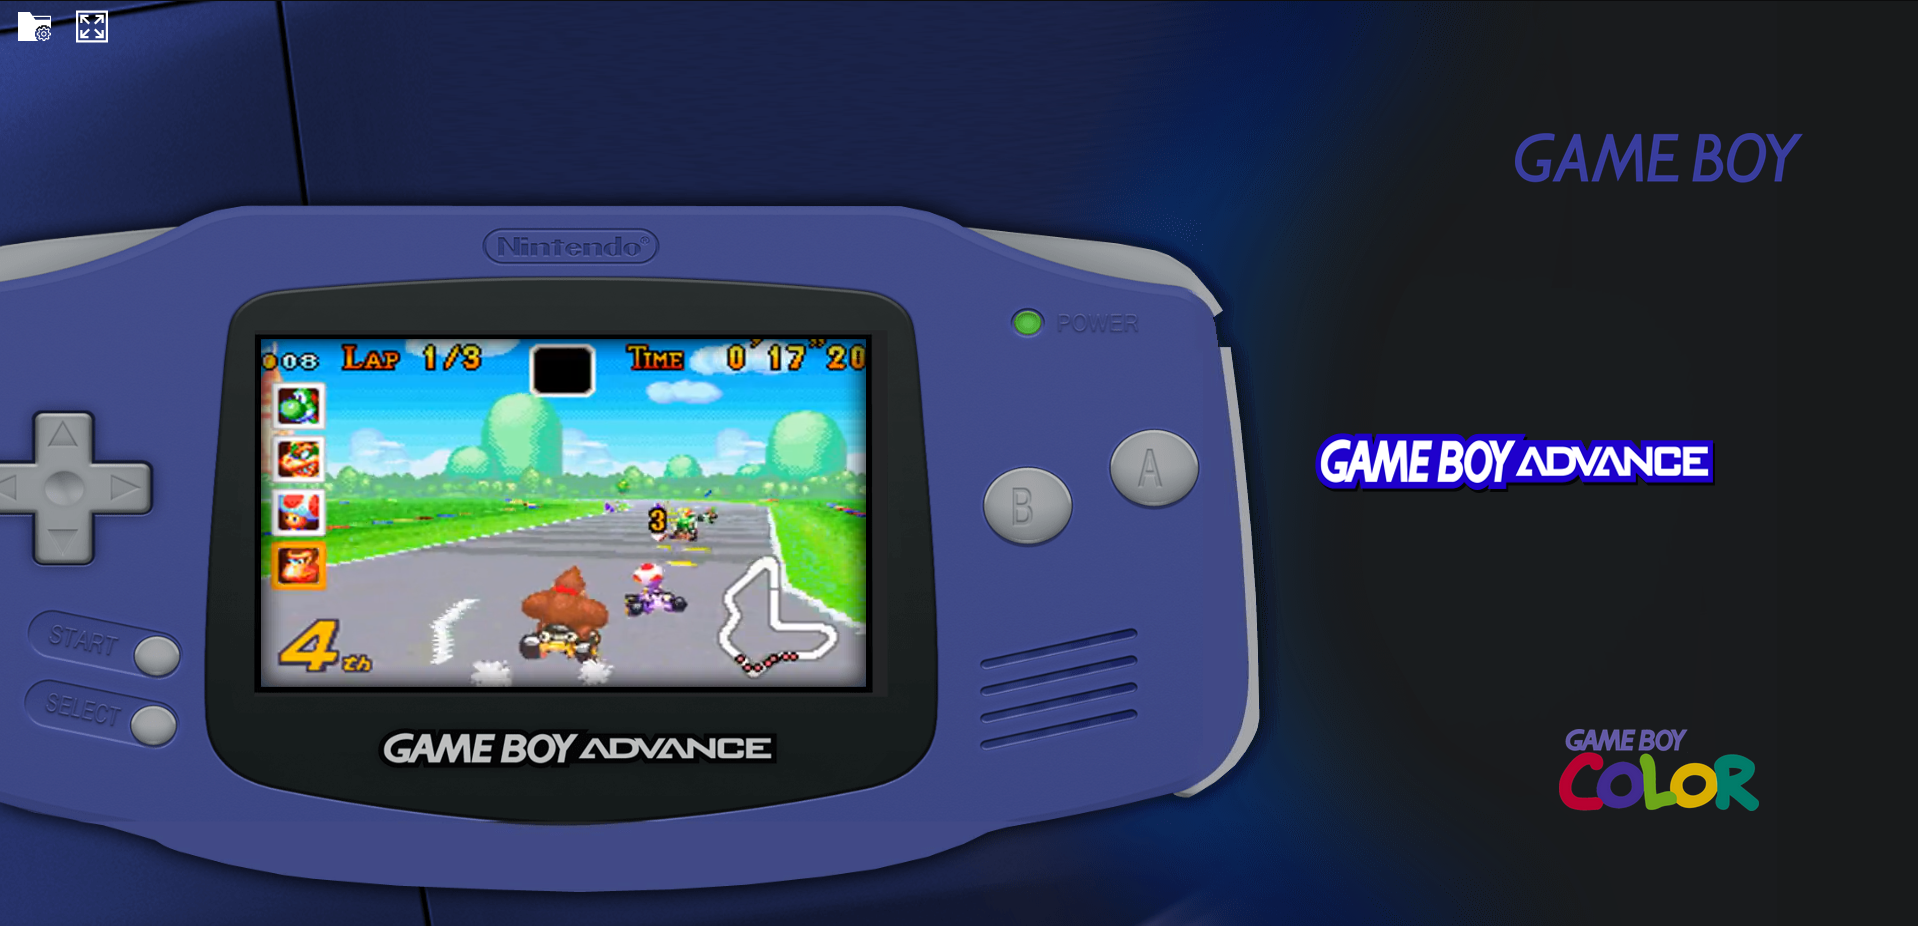
EmulatorJS should now be setup and ready for use! I would suggest bookmarking this page as the main page as “Open” in trunas just takes you to the management page.
That’s it! Make sure to turn on your Rom share again from your TrueNAS Shares menu to access your roms folder again.
This was a long post but hopefully someone finds this useful or likes to backup their retro games like I do to preserve their gaming history. Make sure to check out their official GitHub pages and star them or buy them some coffee! Thank you TrueCharts for providing the Apps on TrueNAS as well!


It’s for RomM and the IGDB connection. Without that I think RomM will work but you get no cover art and no meta days. Which kinda defeats the point.